Shannon's Salamanders: Increasing our amphibian survey with the help of a local graduate student


We started the 2018 season by chopping wood, and lots of it. Slab wood left over from the milling process has been piling up on White Memorial’s property, and we knew exactly who could use it- Amphibians. This summer started out with hauling this wood out into the woods to increase the number of amphibian cover board grids. These grids get surveyed every year to get an idea of amphibian diversity and abundance at White Memorial. This year, it got taken to the next level.
Shannon shown here excitedly showing off a Four-Toed
Salamander she found at one of the grids

Shannon Smith, Litchfield native and Trinity College student, completed her Master’s thesis on White Memorial’s salamanders. Specifically, how Red-Backed salamanders are affected by invasive non-native earthworms. To help Shannon get data for this project, we doubled the amount of cover board grids present on the property, and aided her in field work whenever we could.

Shannon is shown here surrounded by her research
materials. 4 1-Gallons jugs of water mixed with mustard
were brought to each plot, no matter how remote


Her methods required sampling of salamanders, earthworms, leaf litter, and soil invertebrates for each of the 40 grids. Each grid took about 2 hours, a lot of grit, a good sense of direction, and tons of Tecnu to complete.  

Some of the research materials on top of a cover board.
Each grid had 25 of these cover boards that needed
to individually be flipped and analyzed for salamanders


Her research questions evolved as time went on, as is normal for research in this field; so little is known about the earthworm invasion and its implications. Because about half of the cover board grids she sampled had been present for years prior to her project, and the other half had just been dealt out only a few months prior, she had to account for the dispersal rate of these animals to the new grids.


She found that the strongest influences on salamander abundance were leaf litter quality, soil temperature, and invertebrate community diversity.

Red-Backed Salamander found in Shannon's
research
Non-native earthworms decrease the quality of the leaf litter, and also decrease diversity of soil invertebrates. This means that earthworms are indirectly having a negative impact on CT’s Red-backed salamanders.


Red-Backed Salamanders are Connecticut's most abundant amphibian. By consuming large numbers of soil invertebrates which are otherwise unavailable as food for larger animals, Red-Backed Salamanders play a key role in moving nutrients up the food web. They are eaten mainly by songbirds, but also mammals of many sizes and also larger amphibians. 
This study is showing that earthworms may be negatively affecting these amphibian's ability to play that key role in the food web. Earthworms are altering the soil environment for these important amphibians by decreasing the amount/diversity of soil invertebrates and influencing the leaf litter layers.  This could have serious ecological effects reaching far up the food web.  More research is needed to understand the role that non-native earthworms play in our soil, and how they are affecting other soil invertebrates. 

You can help limit the earthworm invasion by not dumping unused "night crawlers" or other worms in the forest but rather the trash bin.  Recognize that earthworms are having huge impacts on forest health, and try not to spread them around. 
Four-Toed Salamander, a species much less
common than the Red-Backed


Game Cameras, Worth the investment!


Game cameras have been used for years by hunters and trappers to know what "game" animals are on their property. Today, we see these cameras being used for security, wildlife research, and many other tasks, though they are still most commonly used to monitor game species by hunters. 

The act of using a game camera is called "camera trapping". A game camera is a weather proof camera that is left outdoors for long periods of time. Heat or motion trigger the device to take a photo or video, depending on the user's preference. Most cameras come equipped with different settings which can be altered to yield the desired product. 

The great thing about these cameras is that they provide a minimally invasive and cost-effective way to answer simple questions about a habitat, ie, which animals are found where, and when?

At White Memorial, game cameras are used to explore which species are using different habitats. In previous blog posts you can see all the different species we recorded remotely using these cameras. Whether it was pointed toward a carcass to view scavengers, or aimed at a headwater stream to view animals using water, they always provide some insight to wildlife habits. 
However, our scope is limited to our four cameras and small research staff. We hope that citizen science can help fill in the gaps of our knowledge of the local wildlife. 


As game cameras increase in popularity, they've also decreased in cost. Advances in technology have made it easy to get a relatively cheap camera that will last you a few years. We'd like to encourage local landowners to invest in one or more of these cameras just to see what species you can capture on your property. You may be surprised at what you find! 

The Rhode Island Natural History Survey has outlined some advice for landowners who may want to use game cameras on their property. Topics such as using them for security reasons, and the legality of using them at a land trust or other popularly recreated area. That link is here.


The Nature Conservancy has gathered some insight about using game cameras for citizen science, along with advice for purchasing cameras. That content is available here. 

We hope you are inspired to explore the unknown side of your land; the side that you don't get to witness in person. The elusive animals that escape the limited field of your vision may be captured by a game camera! 
To further inspire you, please enjoy some of my personal favorite photos gathered from camera traps this season. 

Happy Trapping!


This Catbird was captured after a river otter changed the angle of my camera.
This White-tailed Deer was captured at Apple Hill
upper field along a stone wall that separates the open field
from the dense vegetation. 
A River Otter spotted at Cat Swamp off the Laurel Hill trail.
This camera was placed about 12 feet high in a tree
facing down toward the swamp
This is the River Otter that chewed on and tossed around the 
game camera I placed on a log in at Mallard Marsh.

=
This fawn was found at Mallard Marsh (between 202 and Whites Wood Road) after my game camera was messed with by the River Otter. 

This Black Bear was captured off the Mattatuck near Beaver Pond


Bat House Installation

~~~~~~~~~~~~~~~~~~~~~~~~~Materials~~~~~~~~~~~~~~~~~~~~~~~~~~

  • Bat House
  • Treated Wood
  • 3 wood planks (cut to fit the width of the bat house) (referred to as support brackets)
  • Screws to fasten bat house to support brackets
  • Bolt (we used 6" long, 3/8" wide) with washers, nut 
  • Lag screws to fasten beam to post
  • Lag screws to fasten support brackets to beam. 
  • Cordless drill and bits to suit your needs
  • Tape measure, pencil, level, framing square
  • Work gloves, hard-hat, other protective gear
  • BATS!

~~~~~~~~~~~~~~~~~~~Before the installation~~~~~~~~~~~~~~~~~~~~~

Decide where to put the house

South or South East facing is usually best. You want the house to get sun first thing in the morning, and remain sunned for at least 8 hours/day, but preferably 10 to 12 hours. Avoid placing it near shade casting trees. However, do not avoid trees altogether. You should think about what a bat would consider an attractive neighborhood. Proximity to trees, open water, and wetlands are important, as they provide the bats' food: Insects! 
Houses can be installed on a post, wooden beam, or on an existing structure like a house or barn. When installing on a post/beam, opt for a large capacity house to allow heat retention. Single or double chamber houses will lose their heat too early in the night. These smaller houses can be installed on the sides of houses/barns because those buildings give off some heat. 
If you live in the Northeast, paint your bat house BLACK. It is essential for absorption of heat. 


Manage the vegetation

If you had to knock down vegetation to install your bat house, you'll need to continue to manage that vegetation. Bats need room to exit the roost, so shrubs/trees growing under the house can quickly become a problem. 
We chose to place this house in an invasive Japanese knot weed stand for a couple of reasons. First, the vegetation would self regulate its height, so as not to grow above the height of the bat house and shadow it. Second, we knew the ground here would be suitable for setting a post about 4 feet deep. Once we decided on a spot, we knocked down a large area around it to allow for room to work. The wooden beam we will be hoisting into the air is 16 feet long, so we needed to keep that in mind when clearing a working area.

Prepare the Materials


If you're installing a free standing house, you'll need to attach support brackets to the main beam or post. These will be perpendicular to the post/beam, and the house will be secured to these. Be sure these are secure and level. 
We attached the brackets using pre-drilled holes, lag screws, and washers. 
Next, attach the house to the support brackets using sturdy screws. We used 6 screws, and our house came with pre-determined areas where the screws will go. If your house does not have pre-existing places for screws, attach it any way you see fit that will not poke into the chamber. You DO NOT want sharp screws point in toward where the bats will be entering. 


Pound the post or Dig the hole


This only applies to you if you're installing a free standing house. This may seem like a simple step but it can easily backfire. Having a level support beam is KEY!. Whether pounding a post into the ground or burying a beam with cement, be sure to use a level every few seconds to ensure it is not going in crooked. 


If you're using a post:
Measure the distance from the ground to the hole you'll be using to attach the beam to the post. In our case, it was about 41". Now, pre-drill a hole that distance from the bottom of the beam to accommodate the bolt during installation. 


~~~~~~~~~~~~~~~~~~~~~~~~~~~Installation!~~~~~~~~~~~~~~~~~~~~~~~

Step 1. Attach the bat house


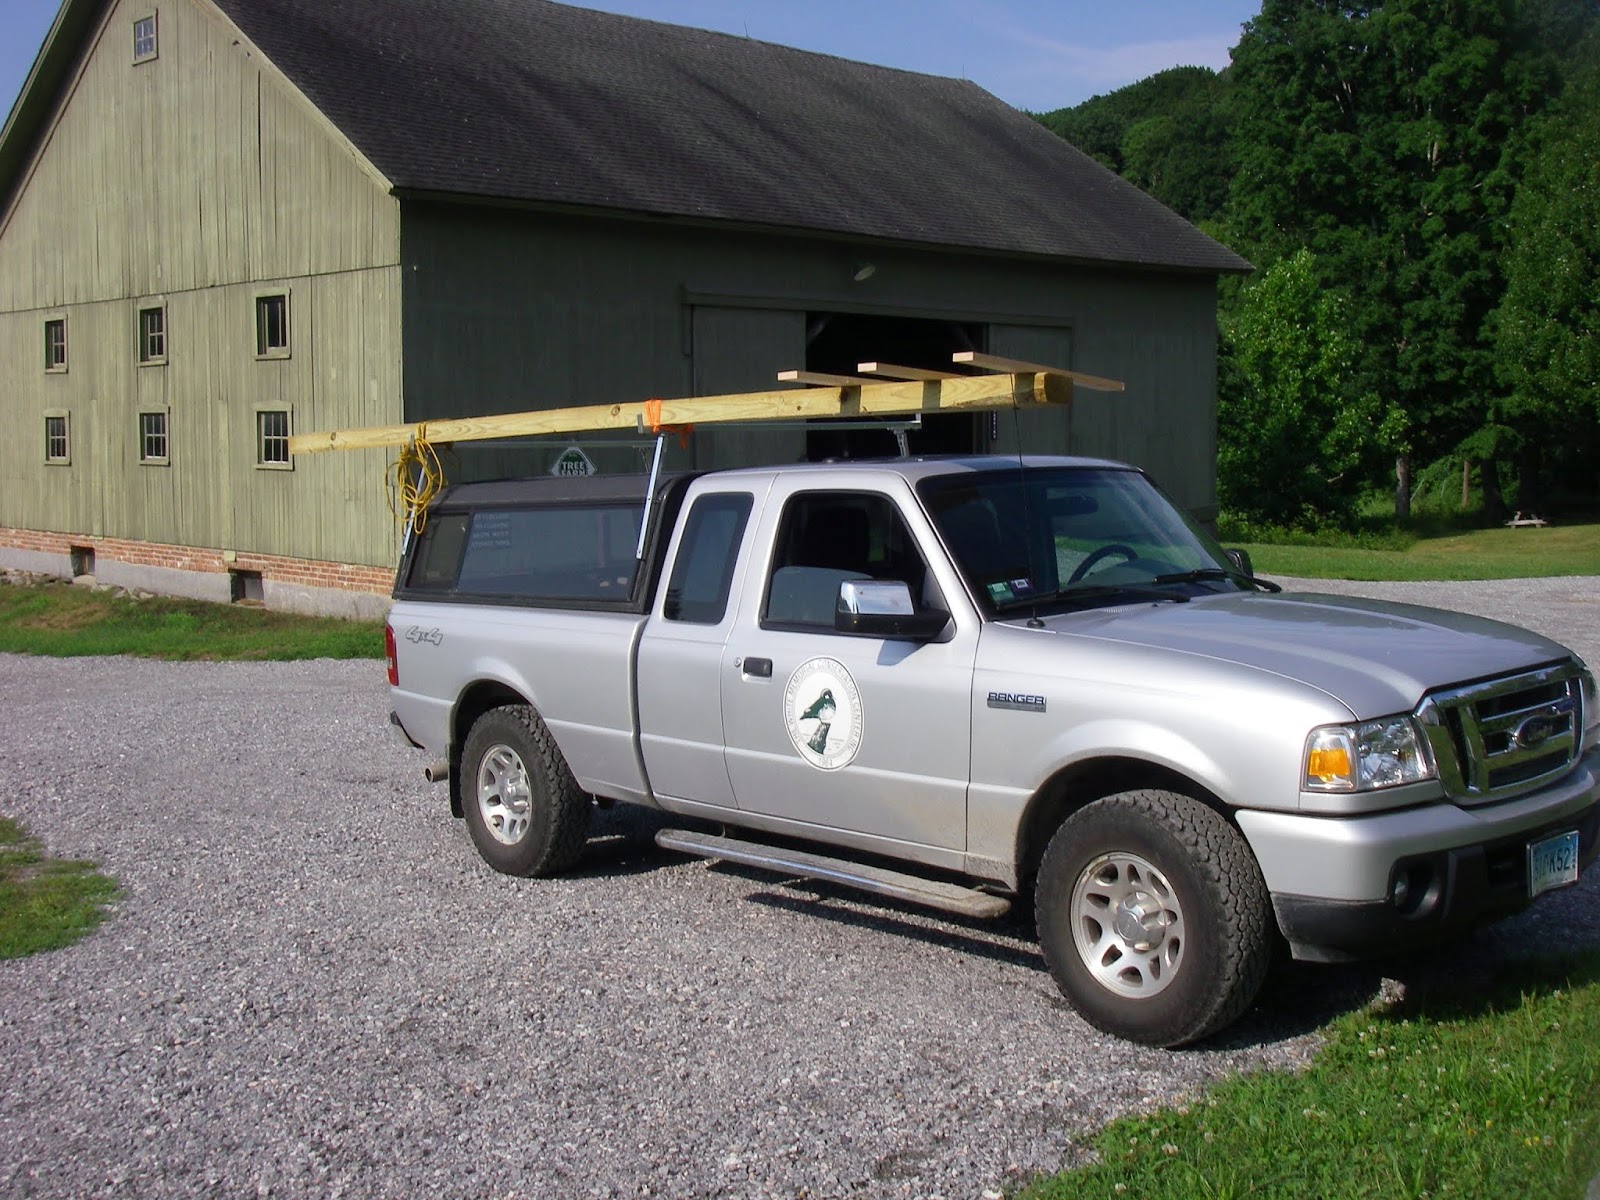
A pick-up truck served as the perfect platform to place the beam on before rotation. Saw horses could work just as well. Once the beam is in place and the bolt is secure, the bat house can be screwed into the brackets. We also used washers in this installation.


Step 2. Attach the beam to the post


To attach the wood to the post, we used a 3/8" bolt. We started out with the beam horizontal (perpendicular to the post). The bolt will act as a fulcrum from which the beam will rotate to its upright position. 


Step 3. Rotate beam to lift bat house into the air


This step can be tricky and requires at least 4 people. Because this set up is top-heavy, getting it and keeping it vertical is a challenge. Once the beam is vertical, use ratchet straps to secure it in place. DO NOT ever take all the hands off the beam until the very end. Once the ratchet straps are taught, you can ensure your set up is level. 


Now you can insert the lag screws to secure the beam to the post. We used three and placed them about equidistant apart. Make sure everything is tight and let go. 
You now have successfully installed a bat house! Congrats!


To learn more about bats, see these links from the CT Dept. of Energy and Environmental Protection: 

  • Bat Fact Sheet - This link gives an overview of bat biology, ecology, management, and other information about building a bat house
  • Bat In Connecticut -  This link tells you what you can do to help save Connecticut's bats. Note the bottom of the page has several other links to articles written about bats in Connecticut- mostly pertaining to White-Nose Syndrome. 


You can purchase a bat house, online, from  https://batmanagement.com/collections/bat-houses

Summary:

Every bat house installation project is unique.  Ultimately, the most important considerations to keep in mind is making sure the bat house is constructed properly and it is placed near good quality habitat that receives good sun exposure.  It is really important to make sure that the bat house is stable and secure when it is ultimately installed, bat don't like houses that sway in the wind or get visited by predators.